Shark in Ocean Preschool Art Craft
One of our favorite summer themes is Sharks -- we totally started doing it years ago when I first found out about Shark Week, and it is one that I look forward to every year! This year we're kicking off with a fun craft!
I was inspired by this newsprint shark, but I wanted to let my preschoolers design their own sharks and experiment with painting with watercolors and salt, so this variation was born! It is still wonderfully simple, gave the kids tons of room for personal expression, and let the kids experiment with some science concepts too!
And, my 3-6 year olds did everything all by themselves. They LOVE the feeling of accomplishment when they make things independently!
Simple Supplies:
* watercolor paper (you can use cardstock or construction paper, but watercolor paper is really wonderful because it holds together so well, even when it's soaking wet! You can get notebooks with 20 sheets in them for very reasonable prices too!)
* construction paper (or any other colored paper)
* watercolor paints
* water
* paintbrushes
* paper towels or white paper
* glue
* wiggly eyes
* salt
* markers (optional)
Easy How To:
1- First we made our oceans! I tell the kids that oceans can have all sorts of colors in them, and we talk about the colors we've seen in oceans and what colors we're going to make our oceans.
To make the ocean, first cover the whole paper in water. Then add paint. You get a wonderful wet-on-wet design that takes on a life of its own! When you're done painting, add salt to any wet areas you still have on your ocean. As it dries, the salt will absorb moisture and create neat designs on your ocean! As we sprinkled on salt, we talked about how the ocean is very salty!
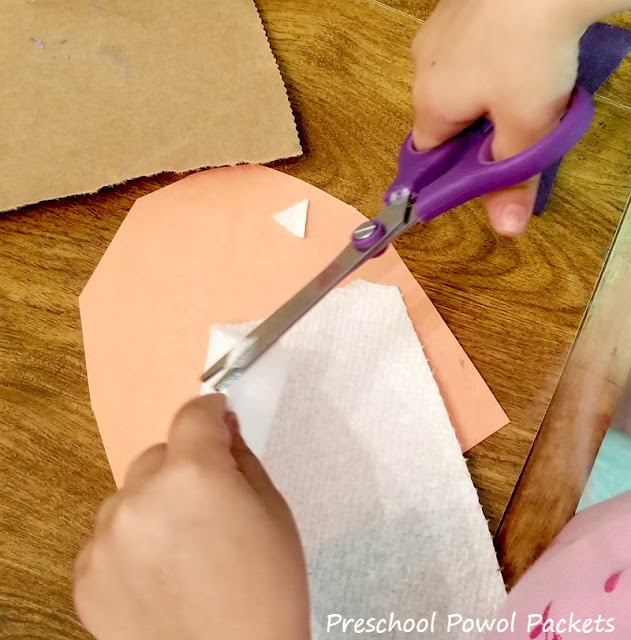
2- While the ocean dried, we made our sharks! I demonstrated one way to make a shark: cut out a triangle-ish shark body from any color of construction paper you want, cut out a black mouth, and cut out white triangles for teeth from the paper towels/white paper. Optionally, you can decorate your shark body with the markers or paints. Glue all the shark pieces together!
3- When the oceans dried, we carefully dusted off the salt and glued our sharks on. I gave them the option of adding an ocean wave or not. One of our little oceans was still pretty wet, but after about a minute under my hair blow-dryer, everything was dry!
Ta da! That was it! These adorable little sharks and their oceans are ready to hang!
Besides a great method for shark art, you could use the same technique for monster art! My husband thinks these sharks make adorable "monsters of the deep!" (Adorable might be my word--he might have said something more manly but less expressive like "fun.")
You can also use this as a STEM project!
Science: discuss how sharks live in the ocean, use gills, float, and handle salt. Also, you experiment with the salt absorbing moisture from the watercolors!
Technology: scissors, paintbrushes, watercolor paper (optional add-ins: use pipettes to dilute the watercolors, let the kids photograph their work, use hair dryers to speed the drying process)
Engineering: designing your ocean and shark
Math: making a shark that fits in the ocean, a mouth that is smaller than the shark, and teeth that are smaller than the mouth, and fitting all the pieces together
Of course, if you run a STEAM program, creating the artwork gives you the "art" component too!
If you're doing a shark unit, be sure to check out our shark science experiment and printable shark activities packet (with a shark life cycle project)!
Happy Educating,
Carla
I may share at any of these parties!

Never miss another post again! Sign up for our weekly updates newsletter and get links to all our posts once a week in your inbox! Sign up here!!


Comments