How to Make a 6-Sided Snowflake!!
Snowflakes in nature have six sides, and luckily folding a 6-sided snowflake is very easy! The trick is all in how you fold it before you cut. Here's a step by step in pictures and then (because I like you all so much), I have a little video that shows the whole process (of how to make a 6-sided snowflake) in under three minutes!
Making these snowflakes is loads of fun to do with a preschool snow theme or a preschool winter theme. I've even made them with teenagers who had just as much fun as the little kids!
Anyway, here's the quick and easy:
How to Make a 6-Sided Snowflake
1. Start with a square piece of paper.
2. Fold your square into a triangle.
3. Fold your triangle into a smaller triangle.
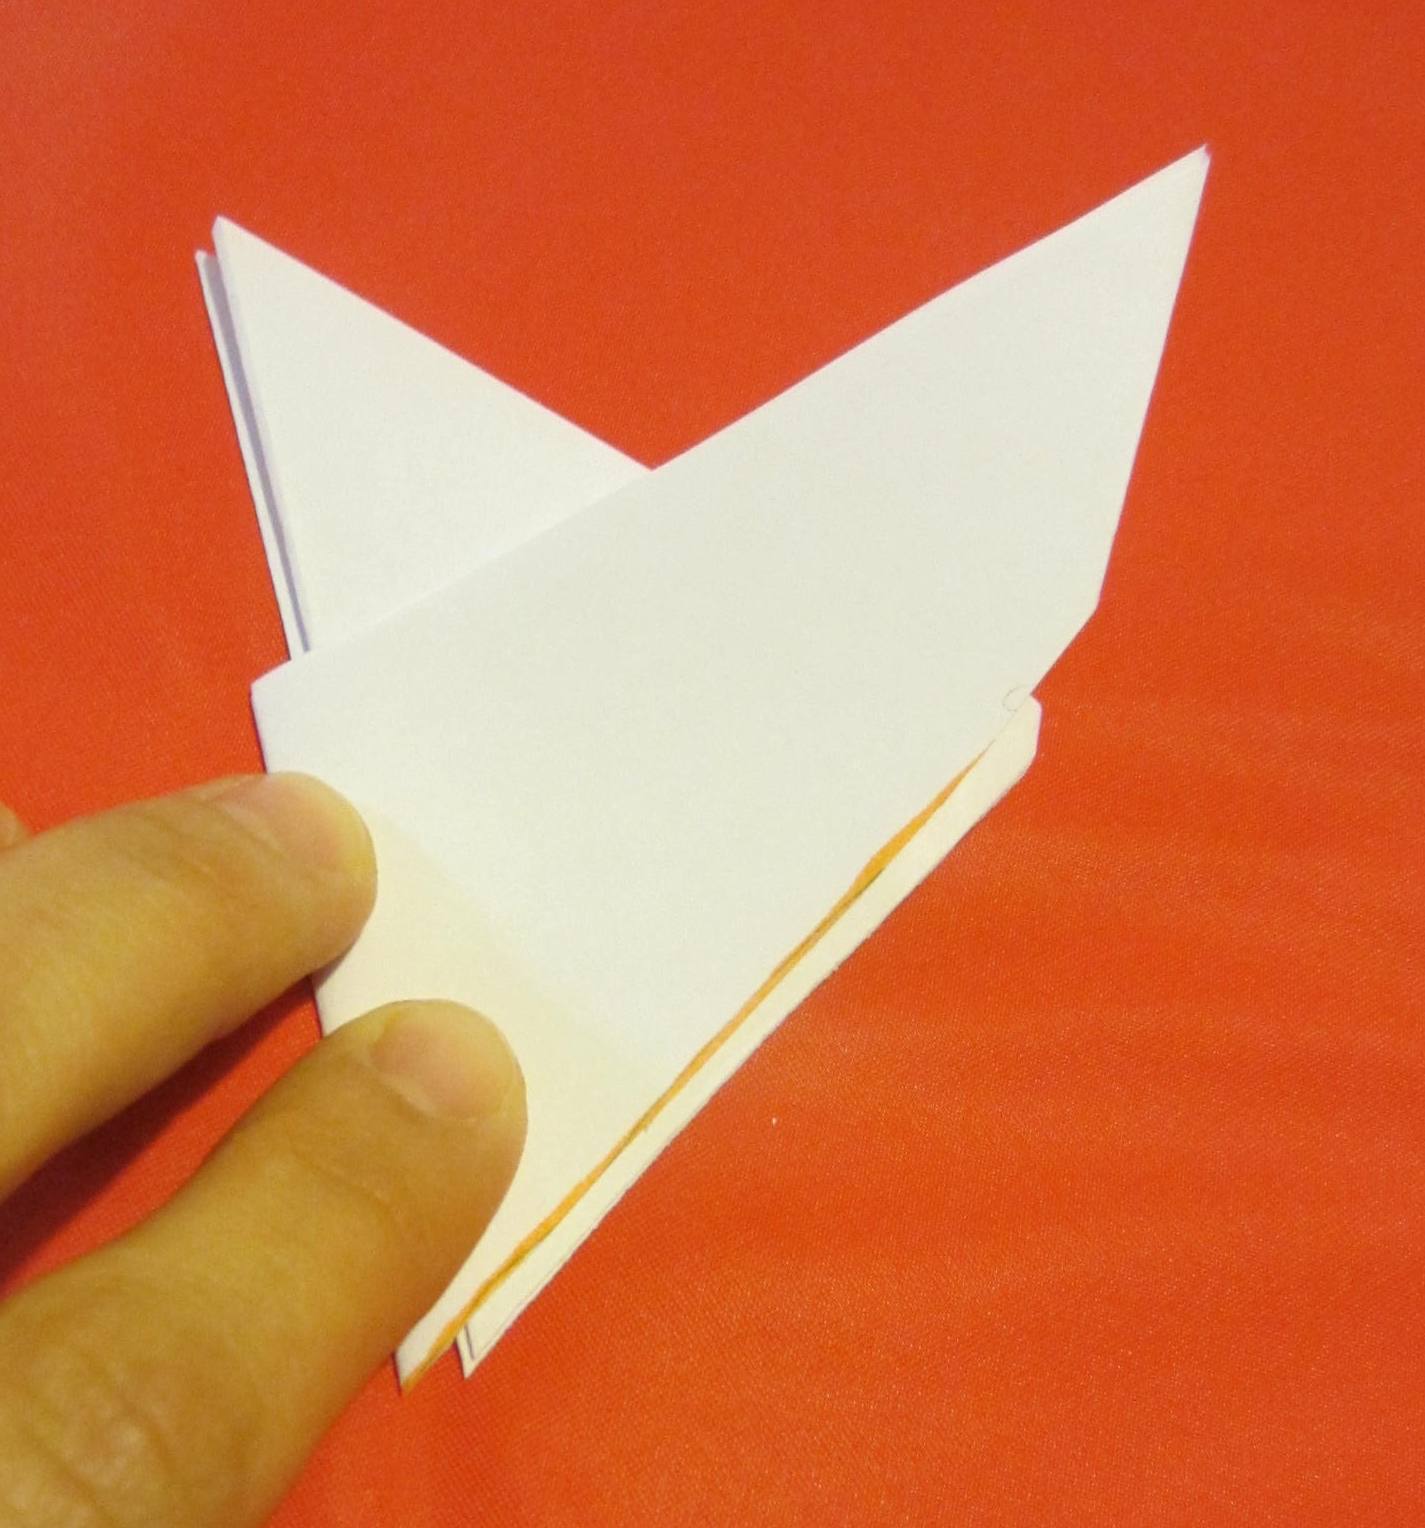
4. Fold your smaller triangle into thirds.
5. Cut through all the layers of paper at an angle close to that drawn in orange.
6. Throw away the top half.
7. Cut fun designs out of the bottom half. You can see what I did in orange.
8. Carefully unfold and display your masterpiece!
Here's the entire process (how to make a 6 sided snowflake) in under three minutes:
Here's a few tips if you're doing this with young children:
1- Start out with at least an 8 1/2 x 11 inch sheet of paper. You want their little fingers to have plenty of room to cut!
2- Cutting and folding are great activities to strengthen those fine motor skills, but you may want to pre-fold the paper for them. What will take you about 30 seconds could easily take them several minutes and be very frustrating.
3- Remember to use safety scissors!
4- A little snowflake science is a lot of fun! In nature, snowflakes have six sides. No two snowflakes are exactly the same. Just like ice, when snow melts, it makes water.
5- Remember to make some with the kiddos...you'll have just as much fun as them!!
Happy Educating,
Carla
I may share at any of these parties!


Comments
Melanie, it could be a fun project! How old is your son? A lot of toddlers love "cutting" things like play dough with plastic scissors as a "first" project too!
Andrea, that's a great idea! The coffee filters are much easier to cut through than six layers of paper!! Thanks for sharing!
Thanks, Savannah! I'll definitely come by and link up!!
http://www.teachbesideme.com/2012/12/share-it-saturday.html
You bet, Earning My Cape!
Thanks, Karyn!
Christy, I'm so glad the timing worked out--I'd love to see what you guys did!
Yay, Hannah! I hope you got back to making them!!